
IRouter-OpenVPN-NAT-Port-Mapping
-

-
Sol.Sun 这家伙很懒,还没有设置简介
0 人点赞了该文章 · 5434 浏览
1. 新建OpenVPN Clinet,OpenVPN 隧道命名为:OpenVPN_T_1 (名称为自定义,但后面的NAT映射需要用到此隧道名,因为OpenVPN服务开启之后,会生成一个此名称的虚拟接口)。
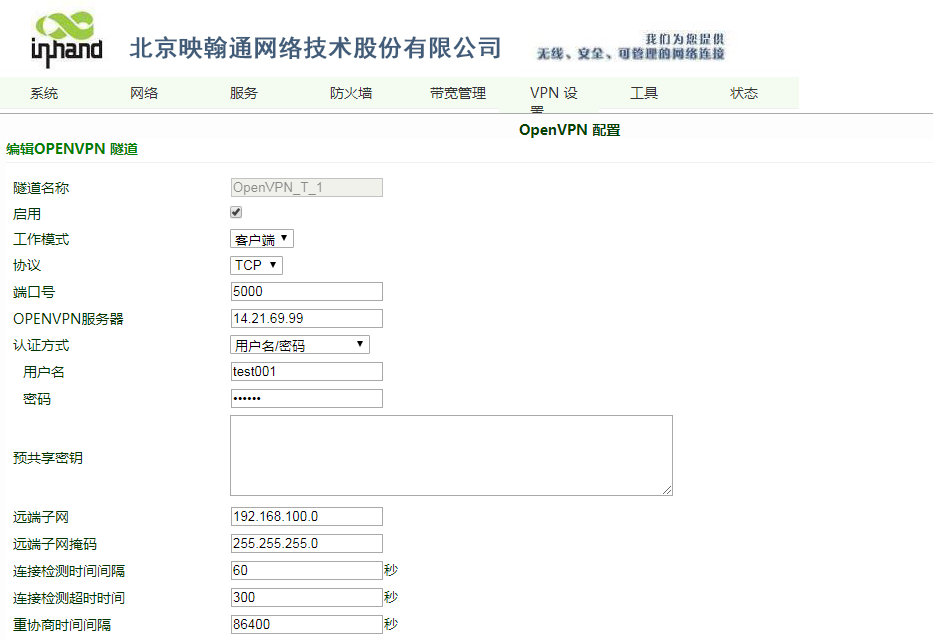 2. OpenVPN Client 建立成功。
 3. 将路由器下端设备192.168.2.2:8080&5002 端口映射到虚拟接口“OpenVPN_T_1”
 4.下端设备192.168.2.2 建立TCP Server 8080&5002
 5.OpenVPN Server访问Client OpenVPN_T_1 接口IP 192.168.100.26:8080
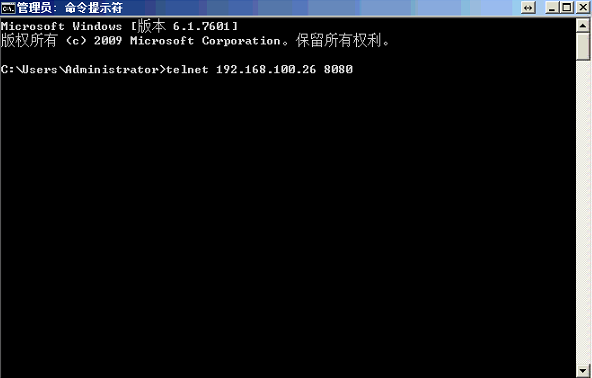 与下端设备192.168.2.2:8080 成功建立TCP链接
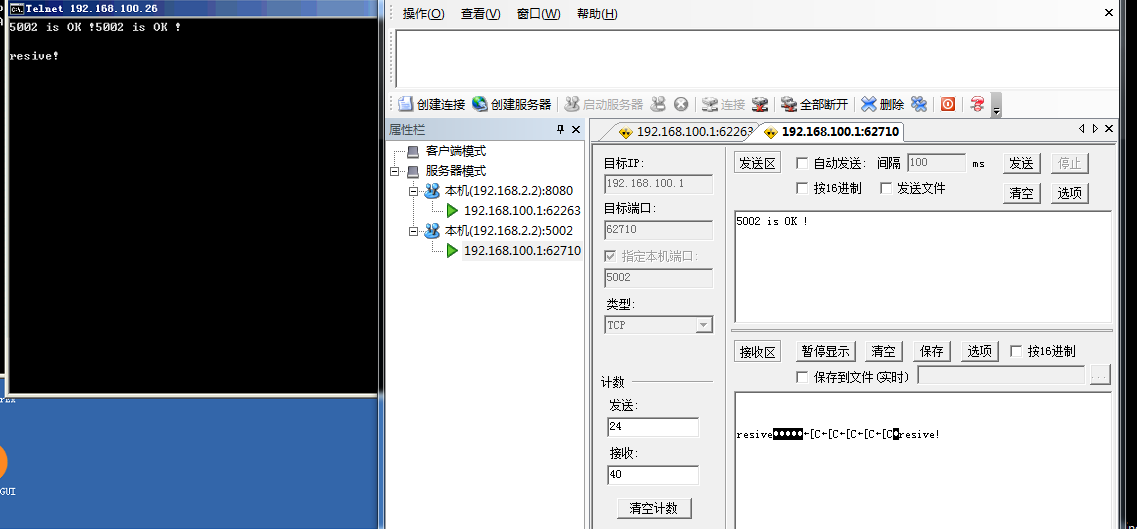
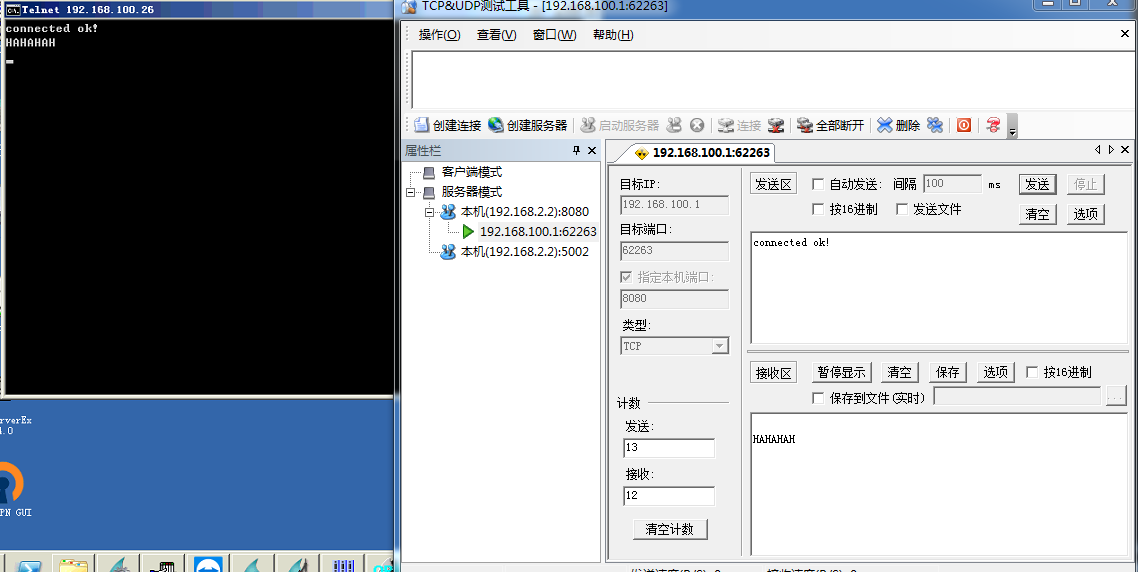 OpenVPN Server访问Client OpenVPN_T_1 接口IP 192.168.100.26:5002(图片后面的CMD命令框)
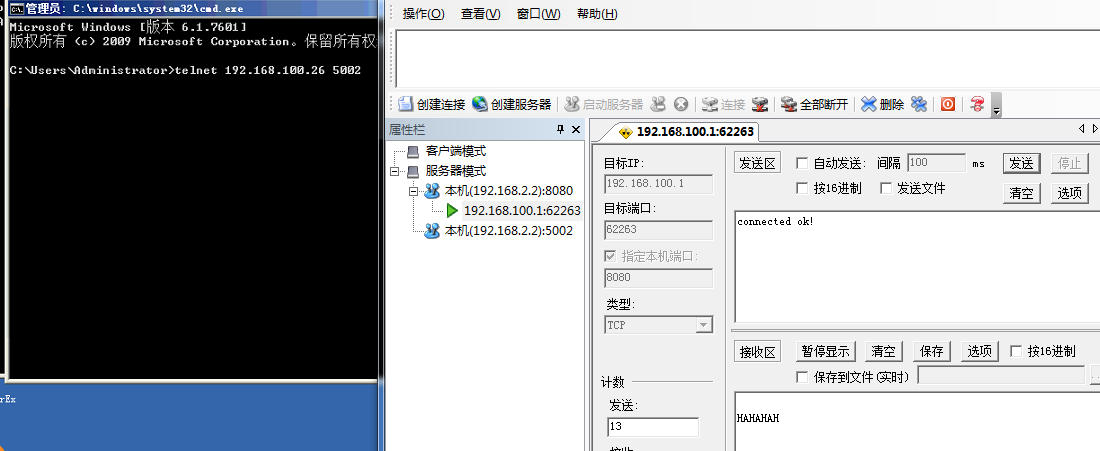 与下端设备192.168.2.2:5002 成功建立TCP链接


全部 0条评论